apijam
API Security : JWT
Duration : 15 mins
Persona : API Team/Security
Use Case
You have an API that is consumed by third parties. You want to secure that API using JSON Web Tokens aka JWTs.
How can Apigee Edge help?
Both JWS (JSON Web Signature) and JWT (JSON Web Token) are commonly used ways to share claims or assertions between connected applications in a secure fashion. Apigee Edge provides support for JWS and JWT via out-of-the-box policies. The JWS/JWT policies enables Edge API proxies to:
- Generate a signed JWT or JWS
- Verify a signed JWT or JWS and claims within the JWS/JWT
- Decode a signed JWT or JWS without validating the signature
For more information on JWS and JWT support in Apigee visit the documentation page here: https://docs.apigee.com/api-platform/reference/policies/jwt-policies-overview
Prerequisites
- Have completed Module-2b Lab 3.
Instructions
-
Go to https://apigee.com/edge and log in. This is the Edge management UI.
-
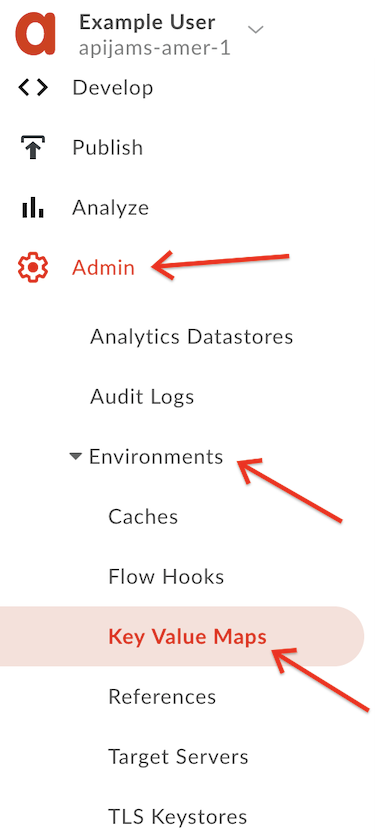
Select Environments → Key Value Maps in the side navigation menu:
- Ensure the environment configuration is set to test, and click the +Key value map button in the upper right corner of the screen:

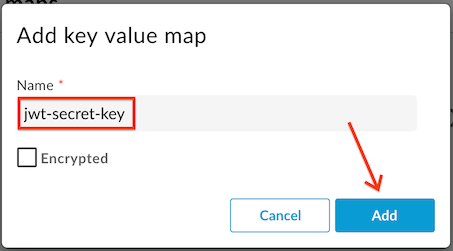
- Enter “jwt-secret-key” (must be this name exactly) as the Name in the text box and click Add:
- Now that the key value map is created, we need to add a Shared Secret. Click to select the key value map:

- Click the + button to add a key value pair to the map:

- Enter the key name as “secret” and the value as “Apigee123”, and then click Add:
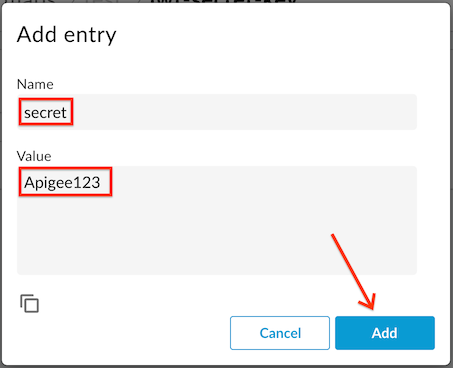
- This shared secret will be used to both generate and verify JWT tokens using the HS256 algorithm.
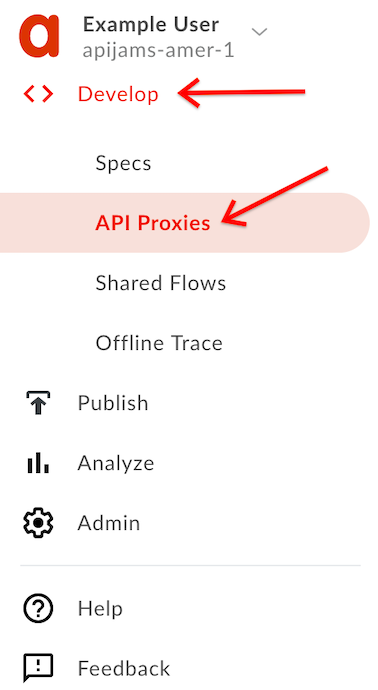
- Select Develop → API Proxies from the side navigation menu:
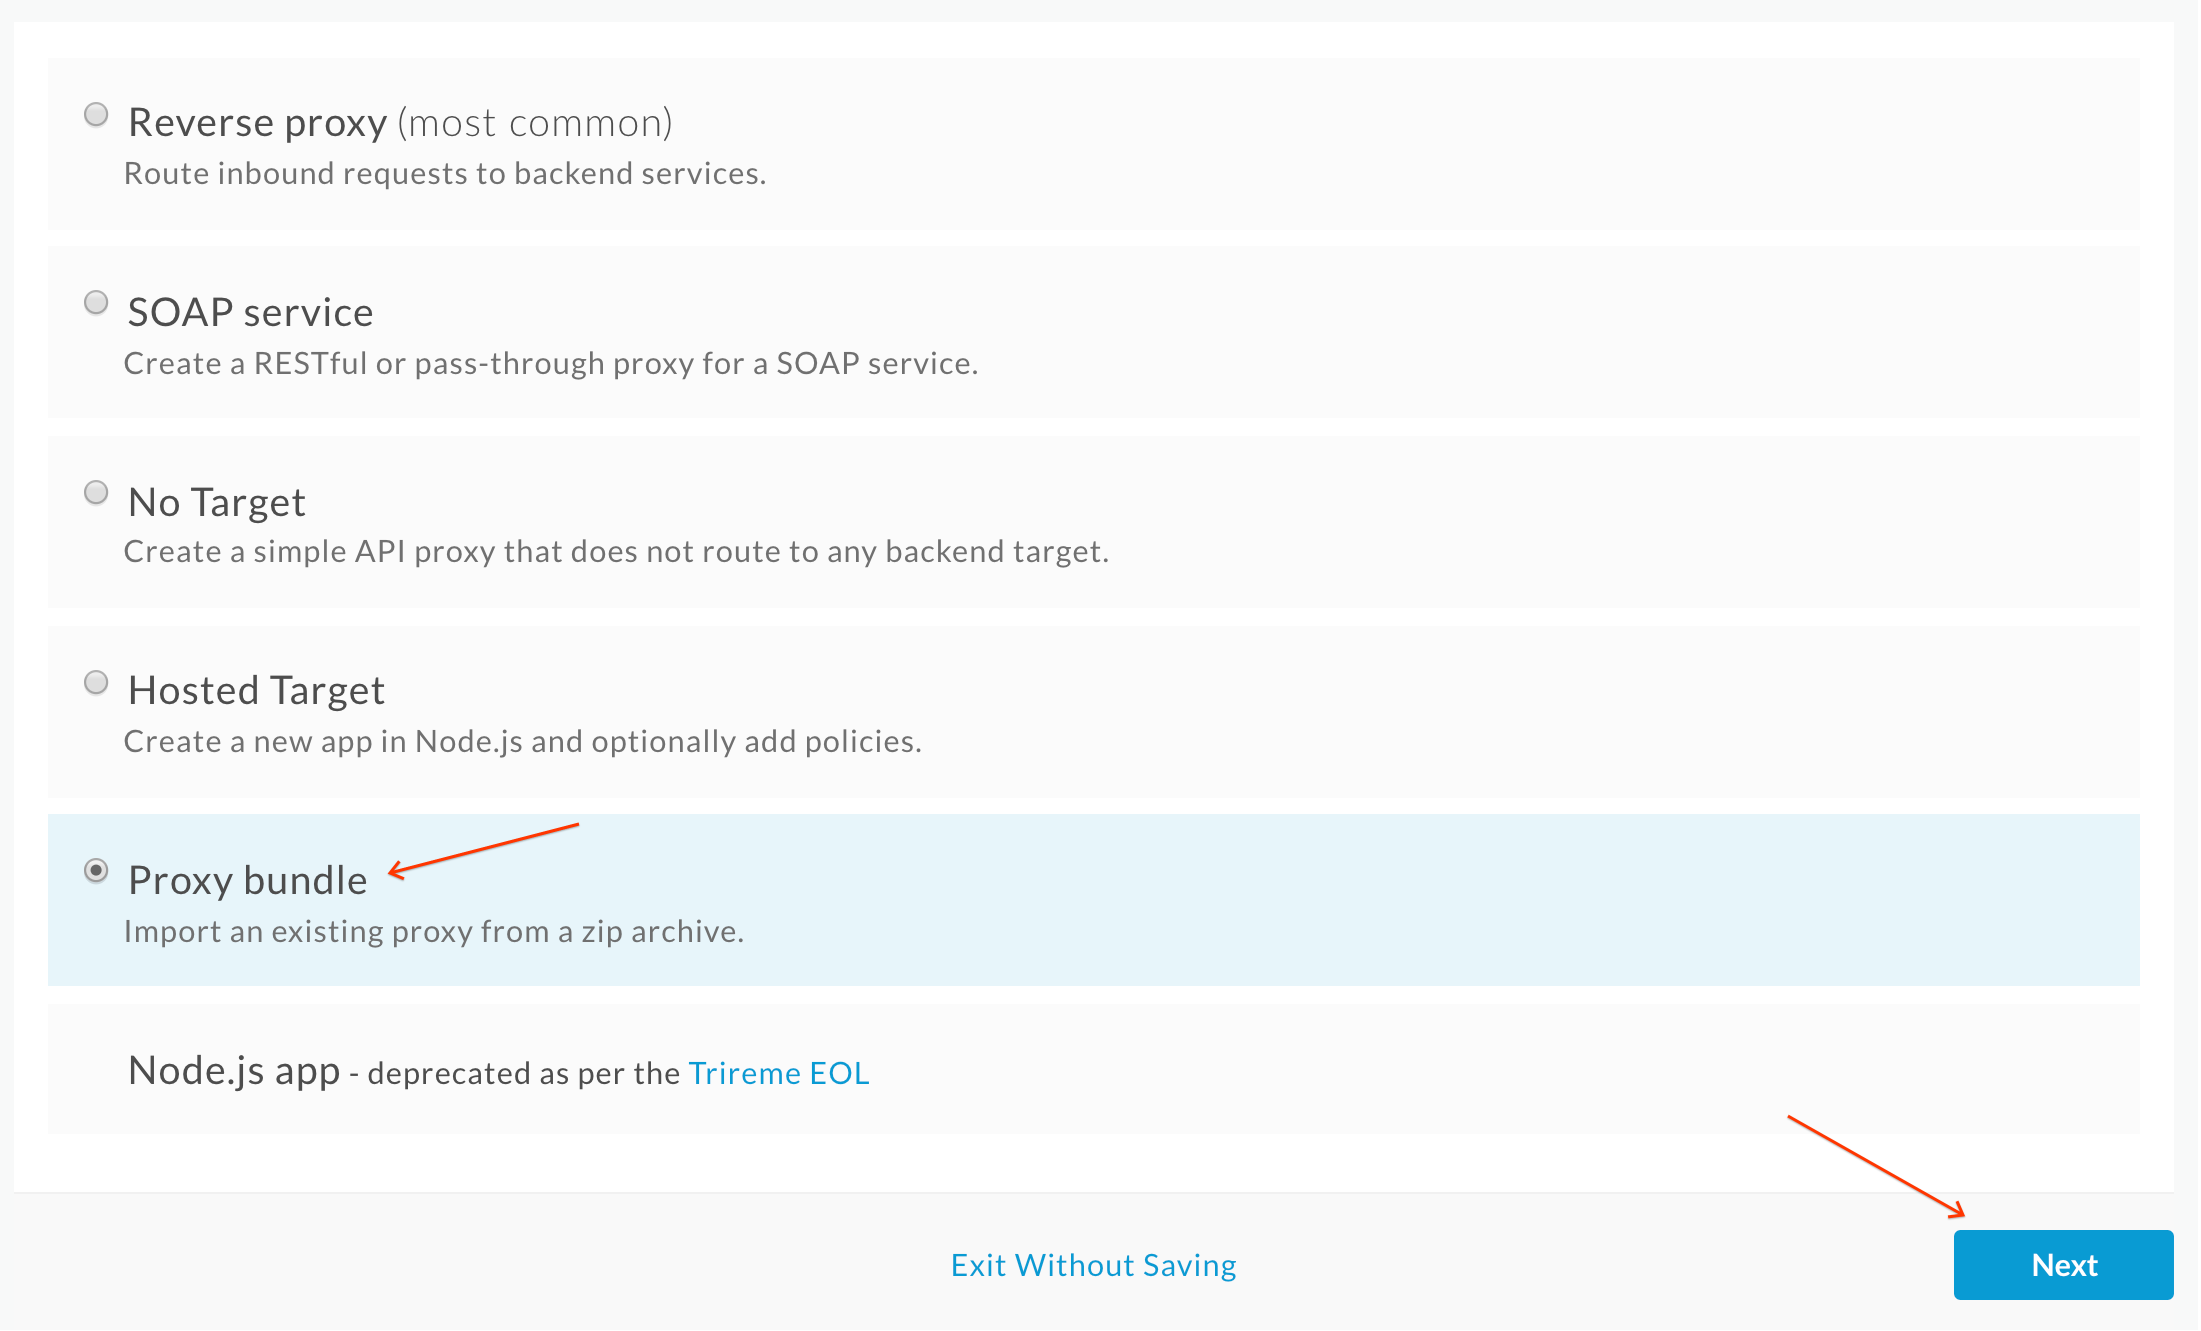
- Click the +Proxy button on the top-right corner to invoke the Create Proxy wizard.

- Select Proxy bundle and then click Next to import an existing proxy form a zip archive:
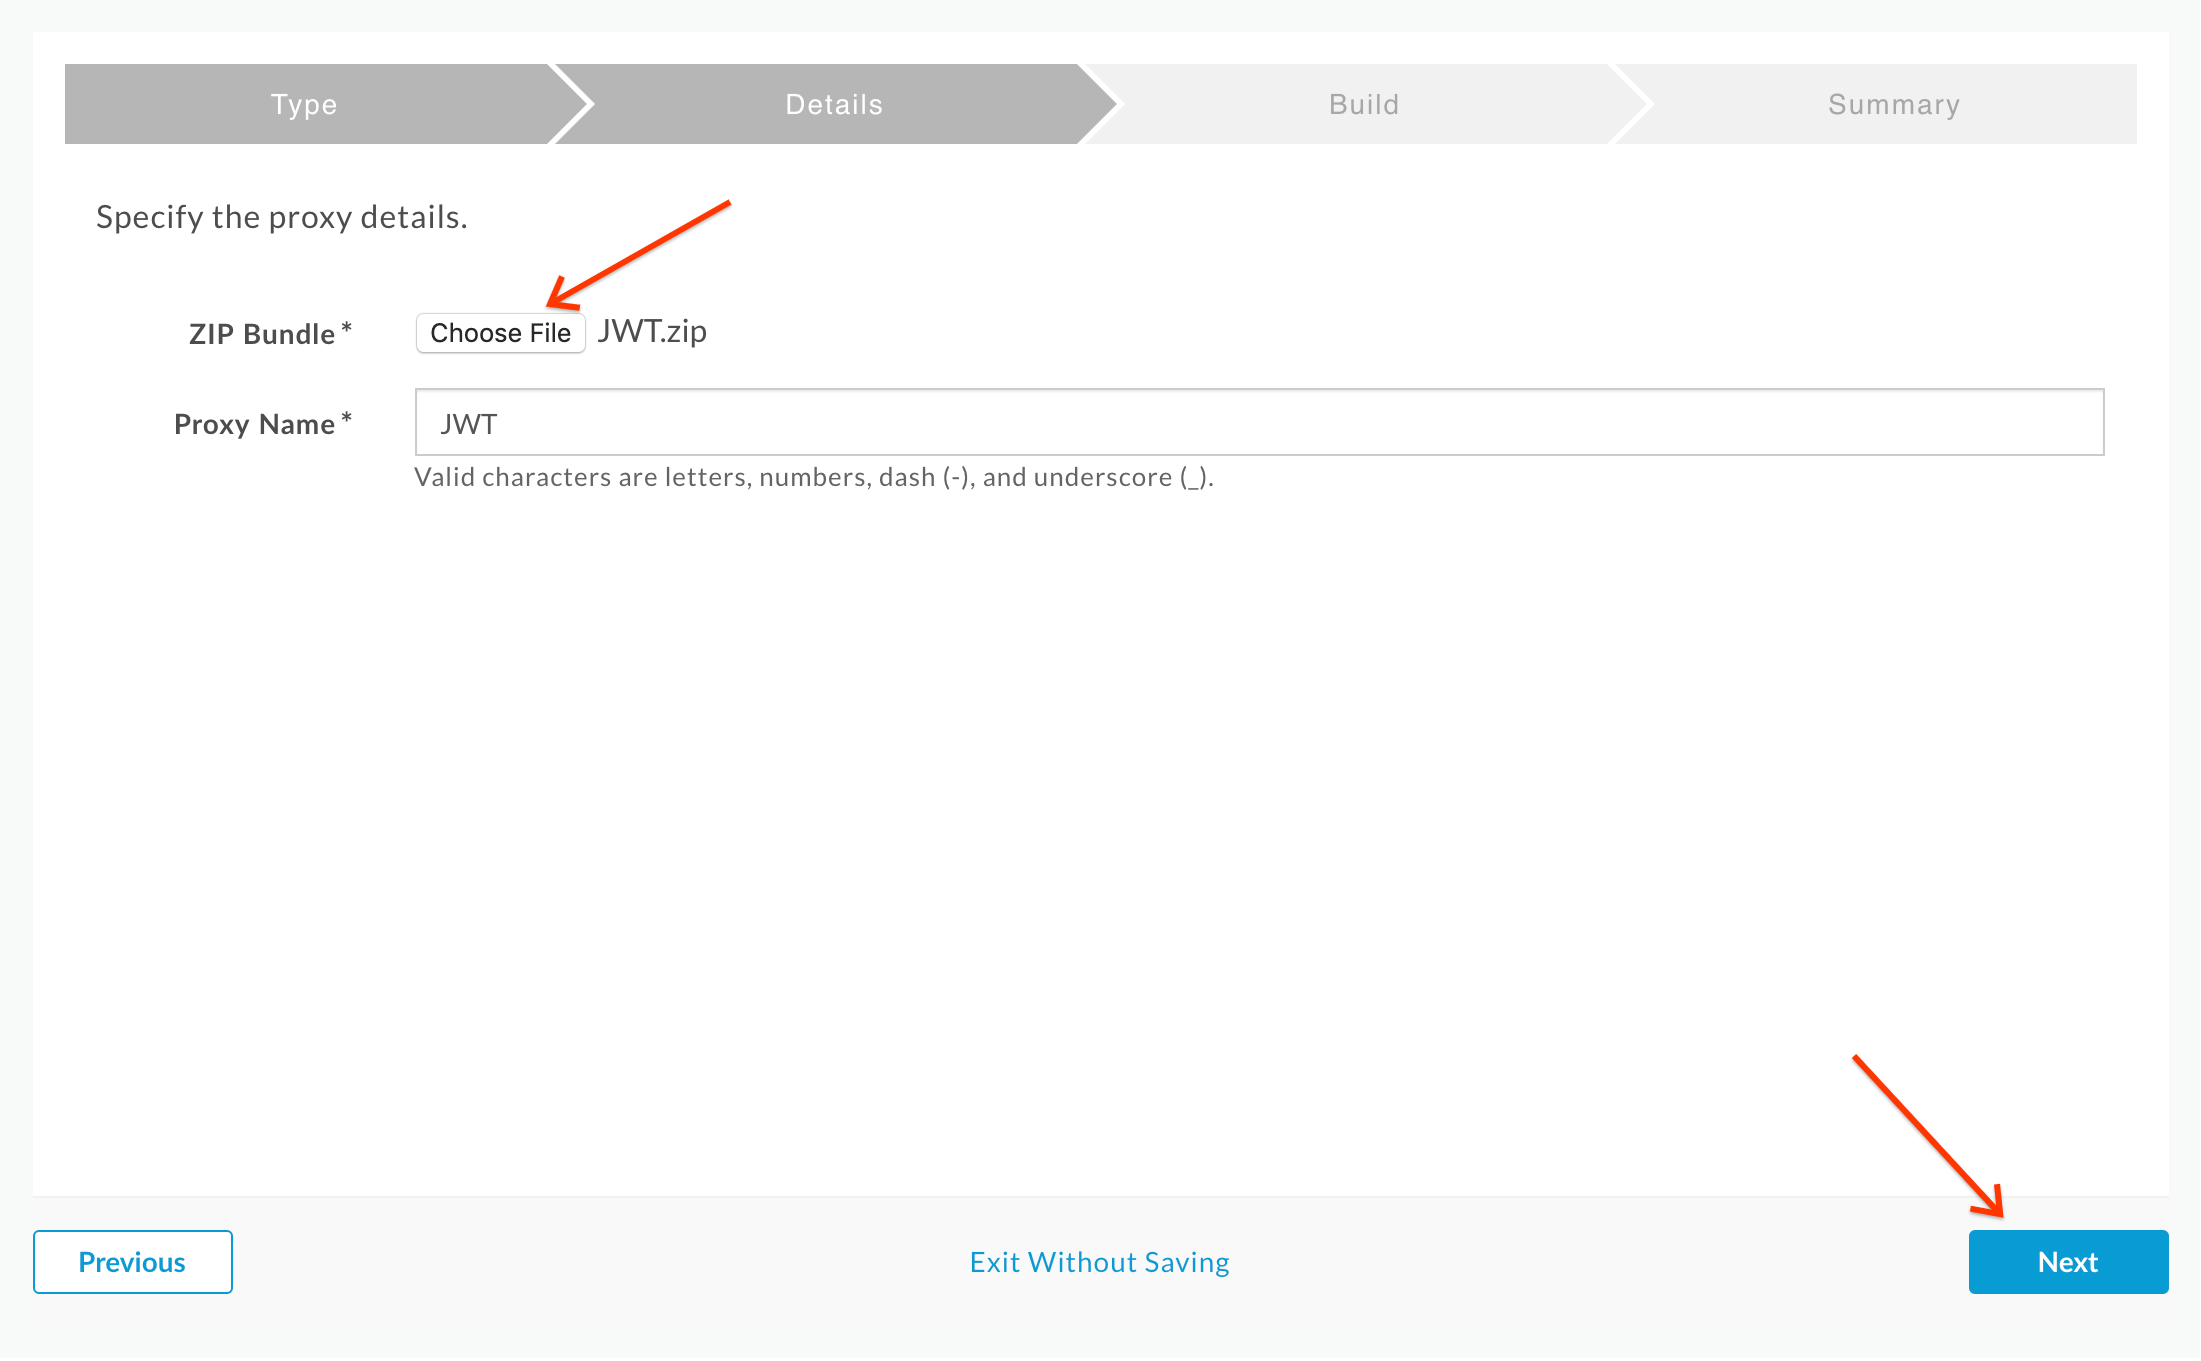
- Download the Apigee proxy “JWT.zip” that generates and verifies JWTs from here. Then click “Choose File”, select the “JWT.zip” file you just downloaded and click Next:
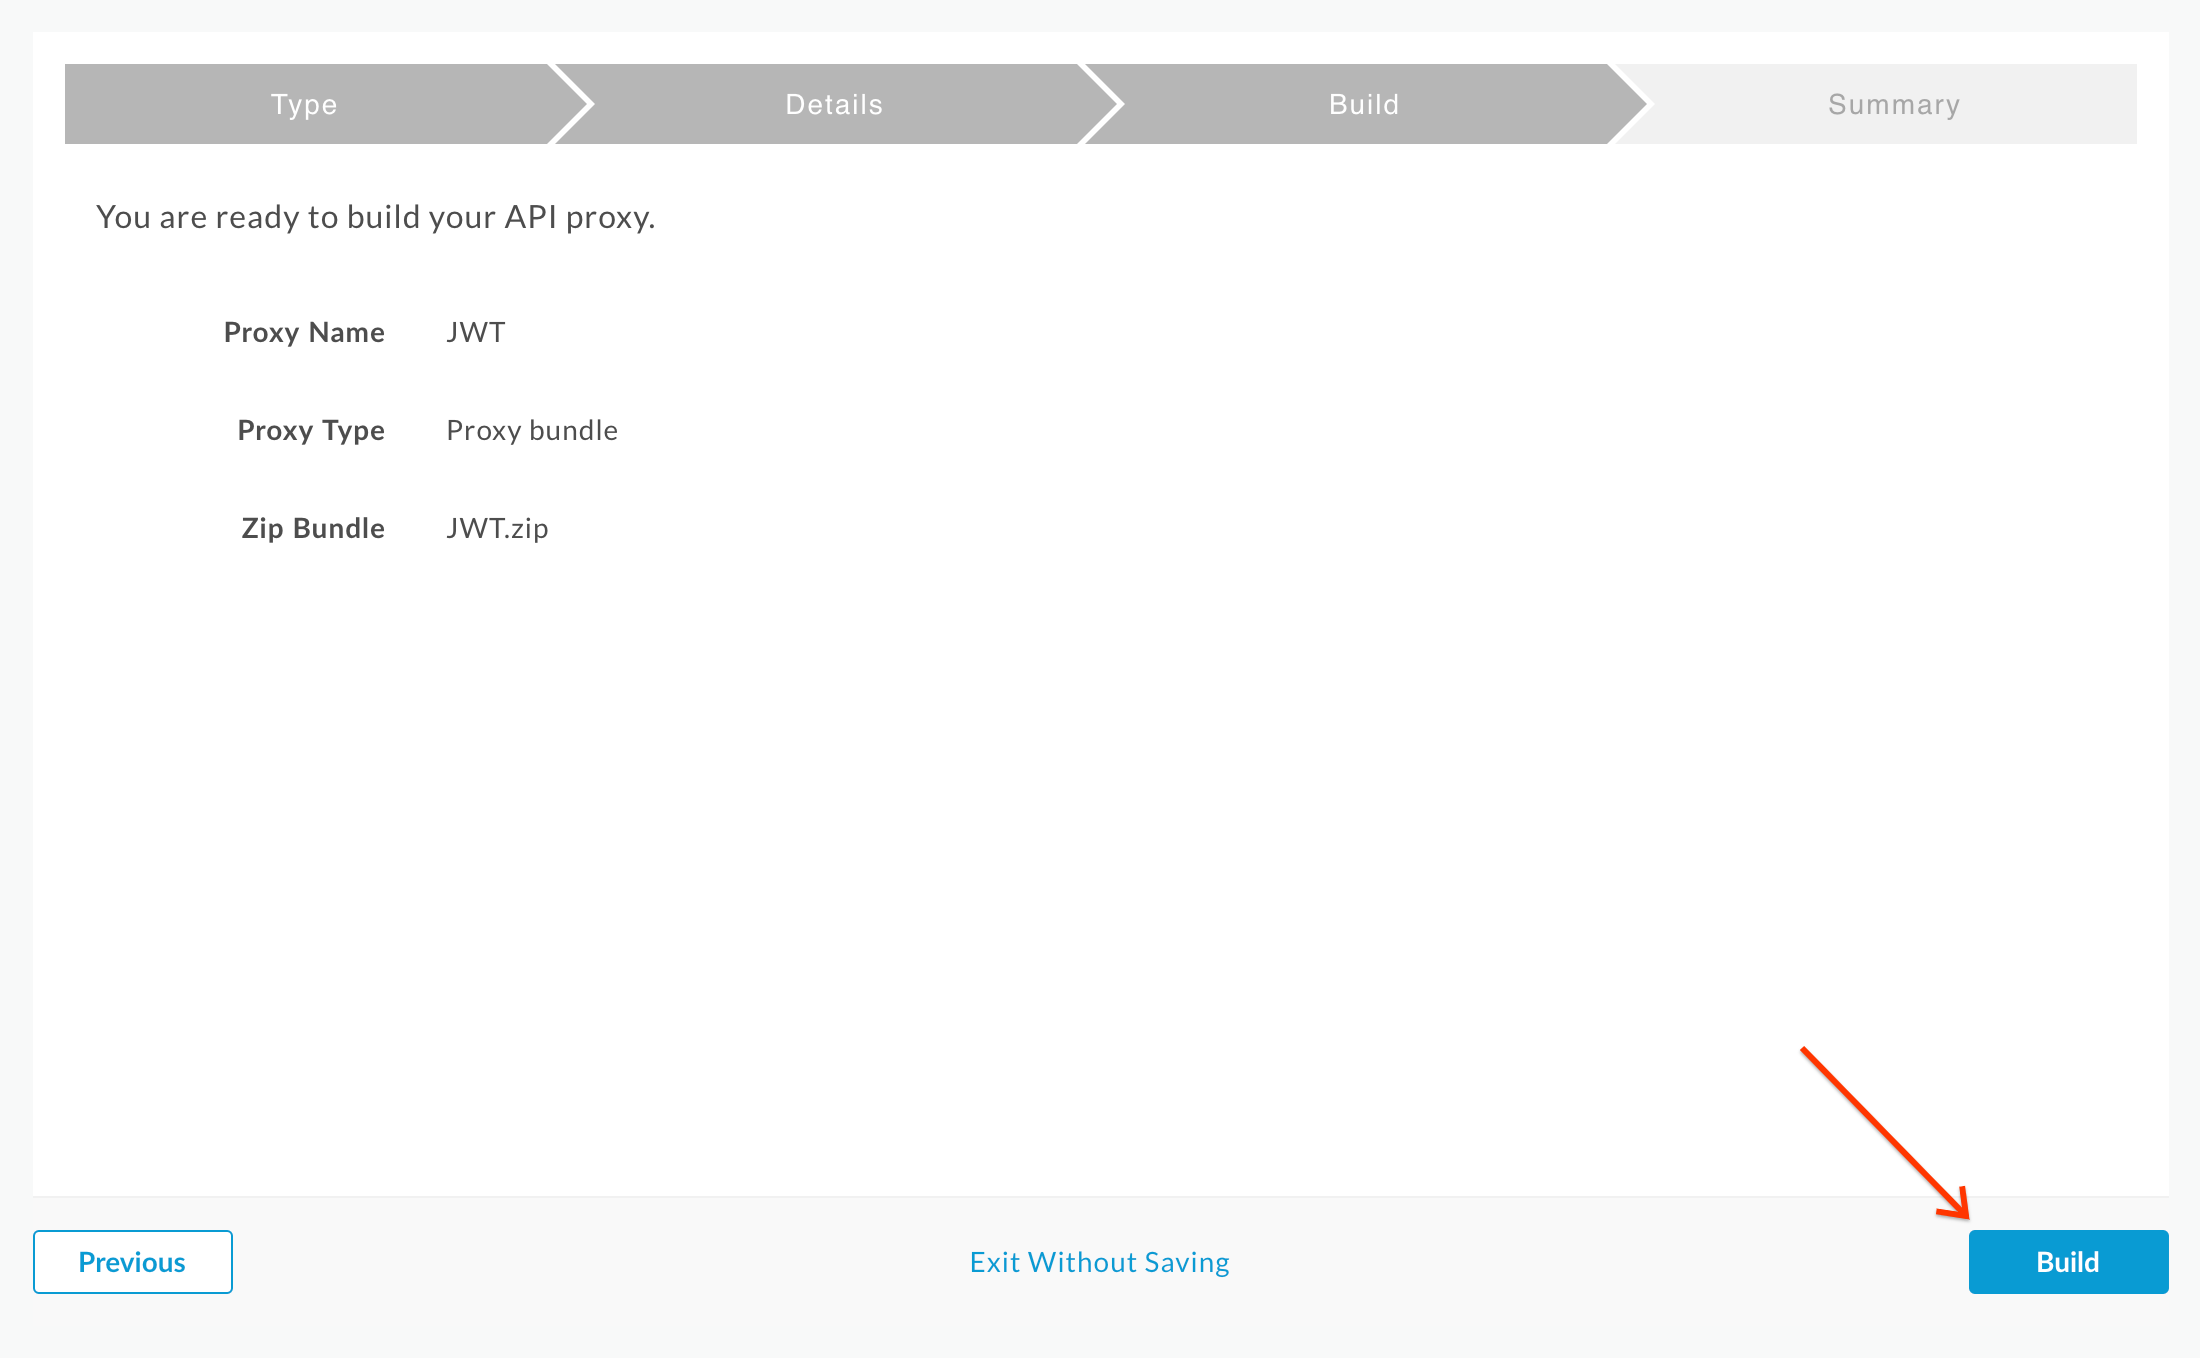
- Click Build:
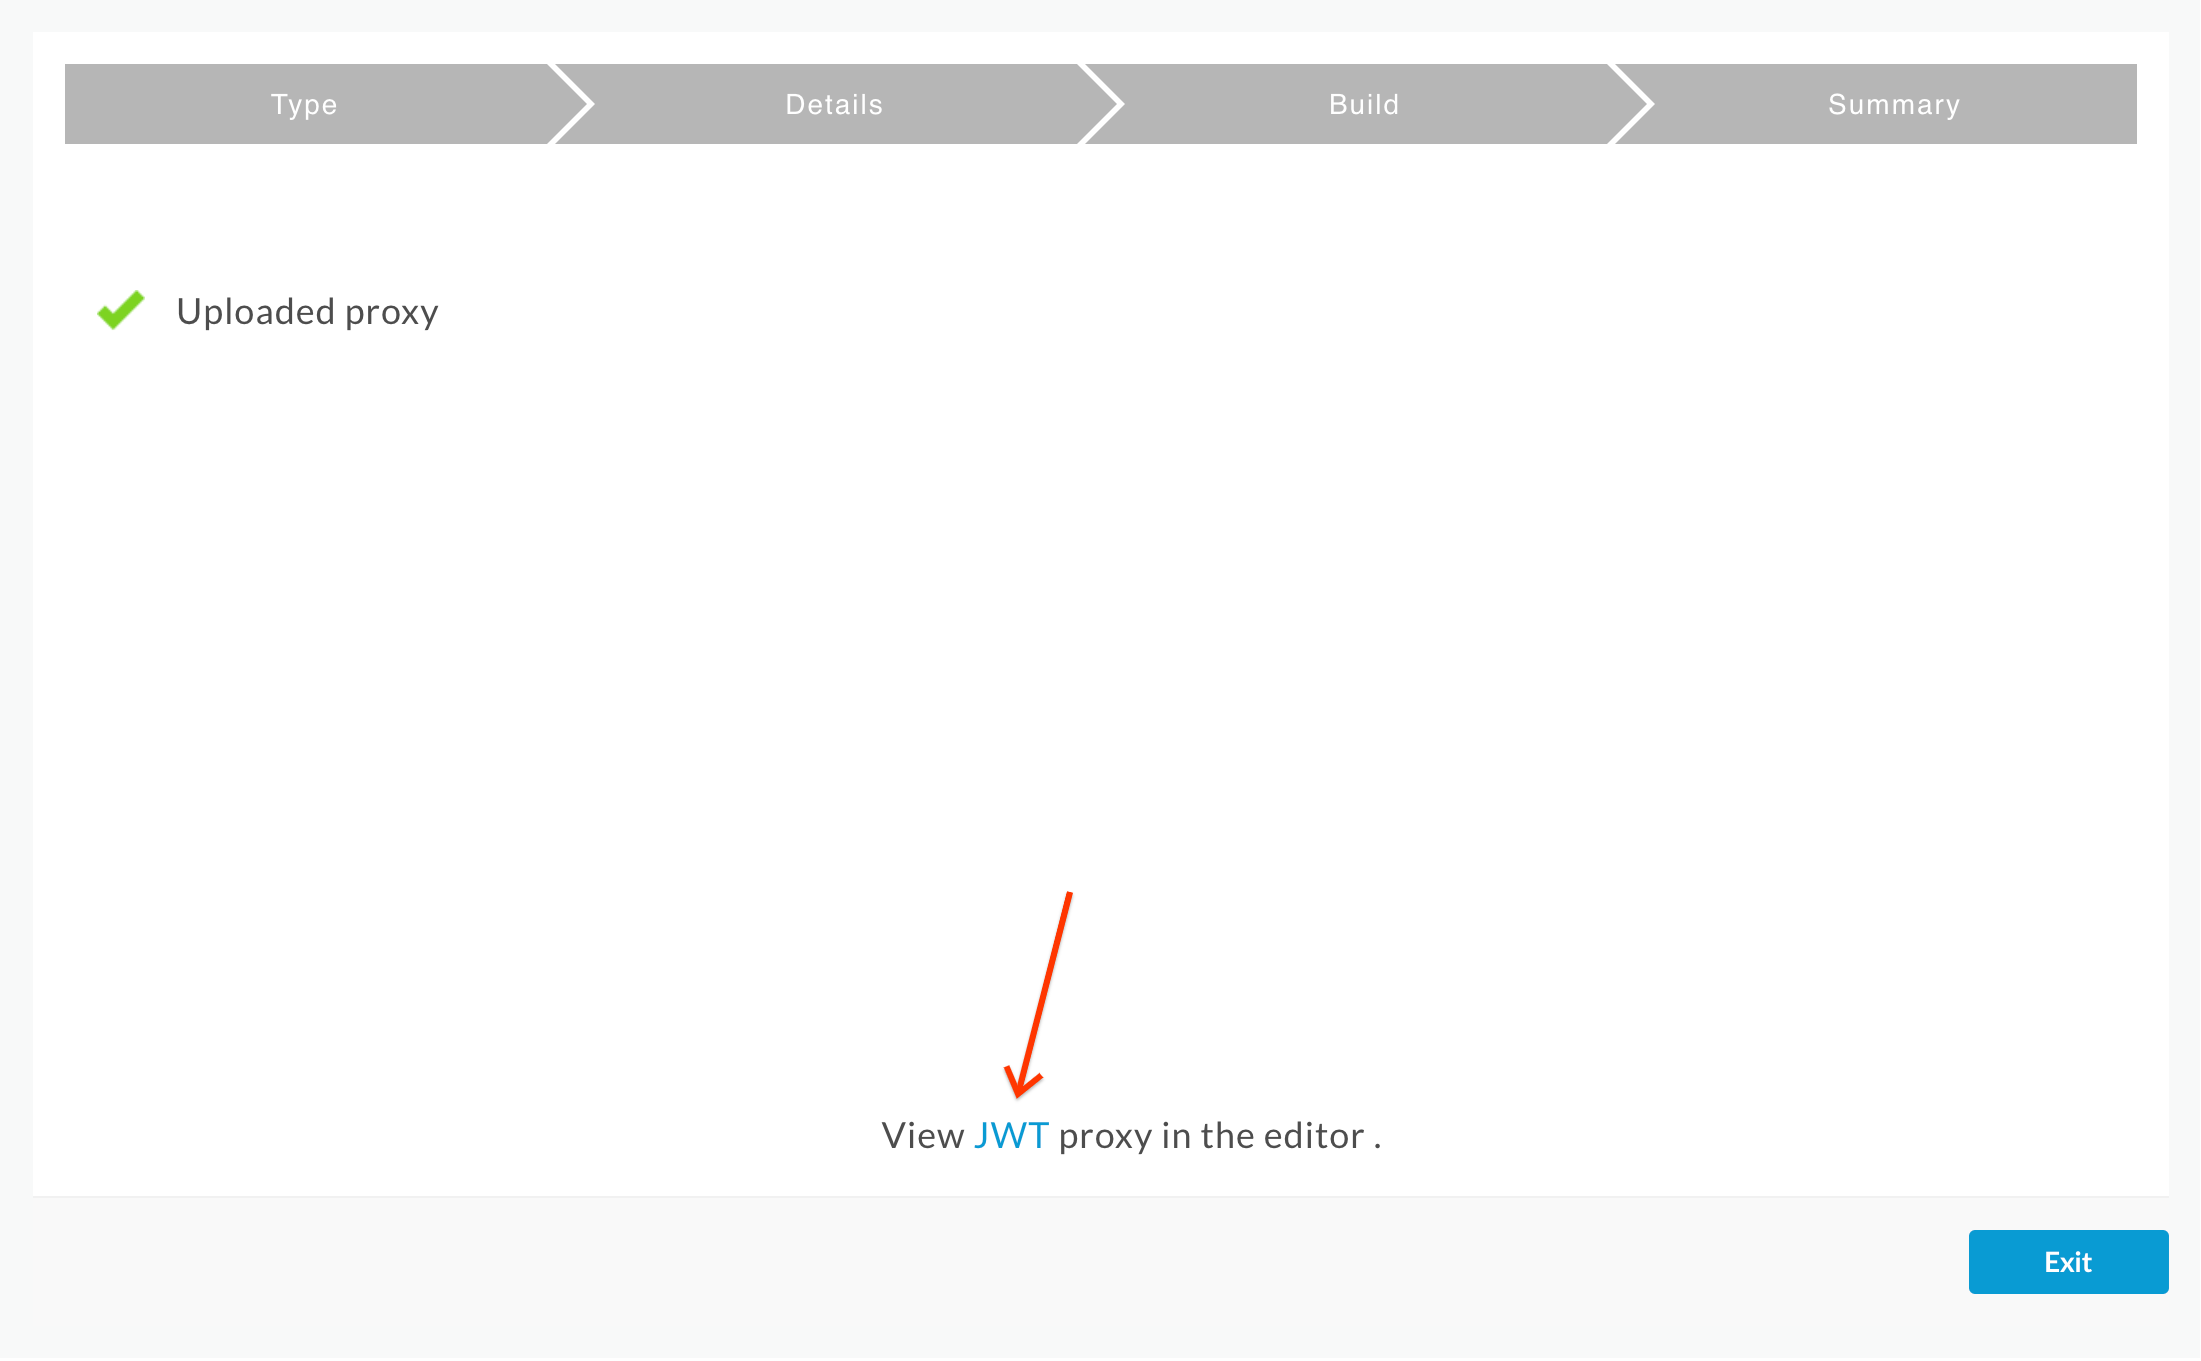
- You should see a successful “Uploaded proxy” message.. Click on the link to the JWT proxy near the bottom of the page:
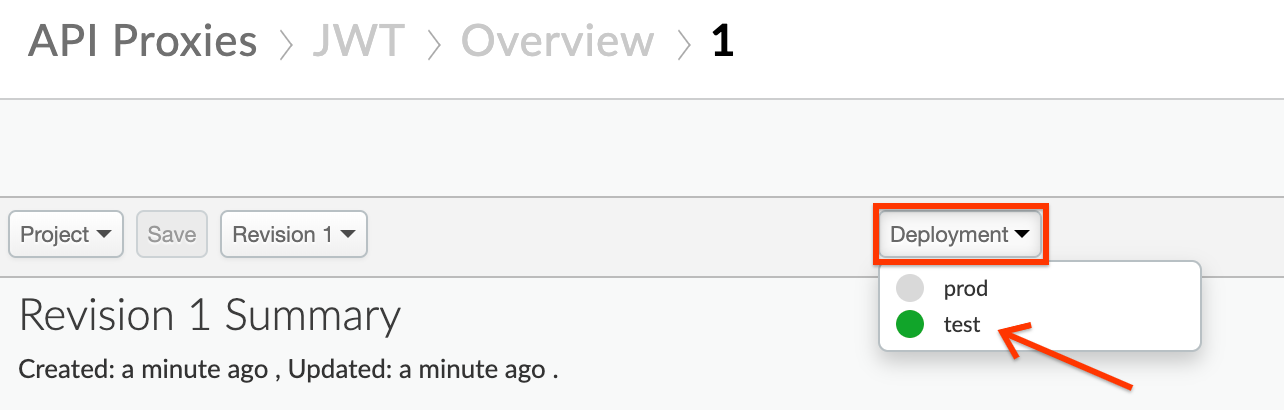
- Deploy the JWT proxy by clicking on the Deployment dropdown and selecting the test environment.
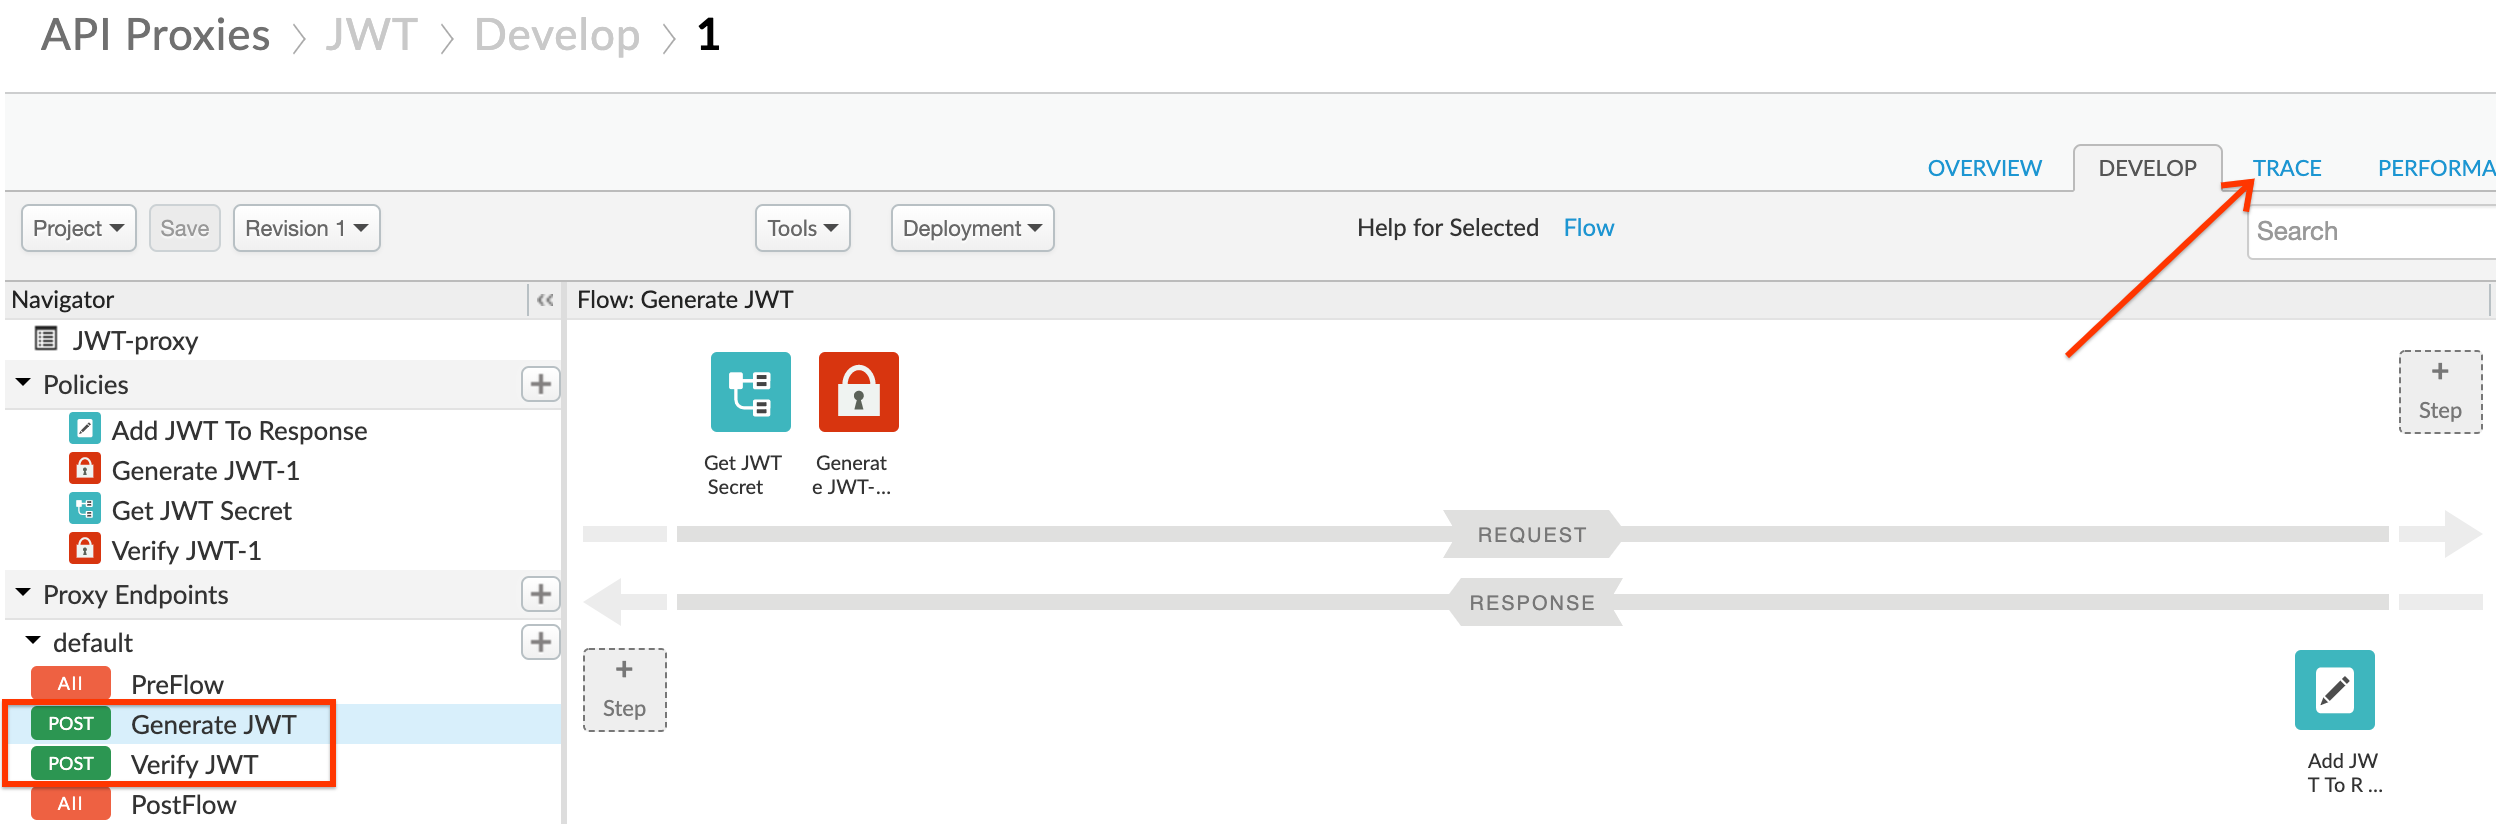
- Click on the Develop tab:

- You can see that the JWT proxy has two endpoints defined as conditional flows:
- Generate JWT (
/token) to generate a JWT - Verify JWT (
/verify) to verify a JWT
Check both flows and read the JWT policies to get a deeper understanding of how they work (reference links available at the end of the lab). Then click the Trace tab:
- Use the Start Trace Session button to turn on tracing for the JWT proxy:

- Next, send a request to the
/tokenendpoint to generate a valid JWT. You can send this request either using a REST client like the one here, or by using thecurlcommand from a terminal. The HTTP request to send is:
POST /v1/jwt/token HTTP/1.1
Host: -.apigee.net
Content-Length: 0
- Replace with your actual Apigee org name, and with the deployment environment for your proxy (eg. test)
Here is an example curl command (you will need to replace values as described above):
curl -X POST -H "Content-Length: 0" https://-.apigee.net/v1/jwt/token

- You should see a token received in HTTP response. Copy the
tokenvalue (without the surrounding quotes) and review the Trace tool to understand what happened.
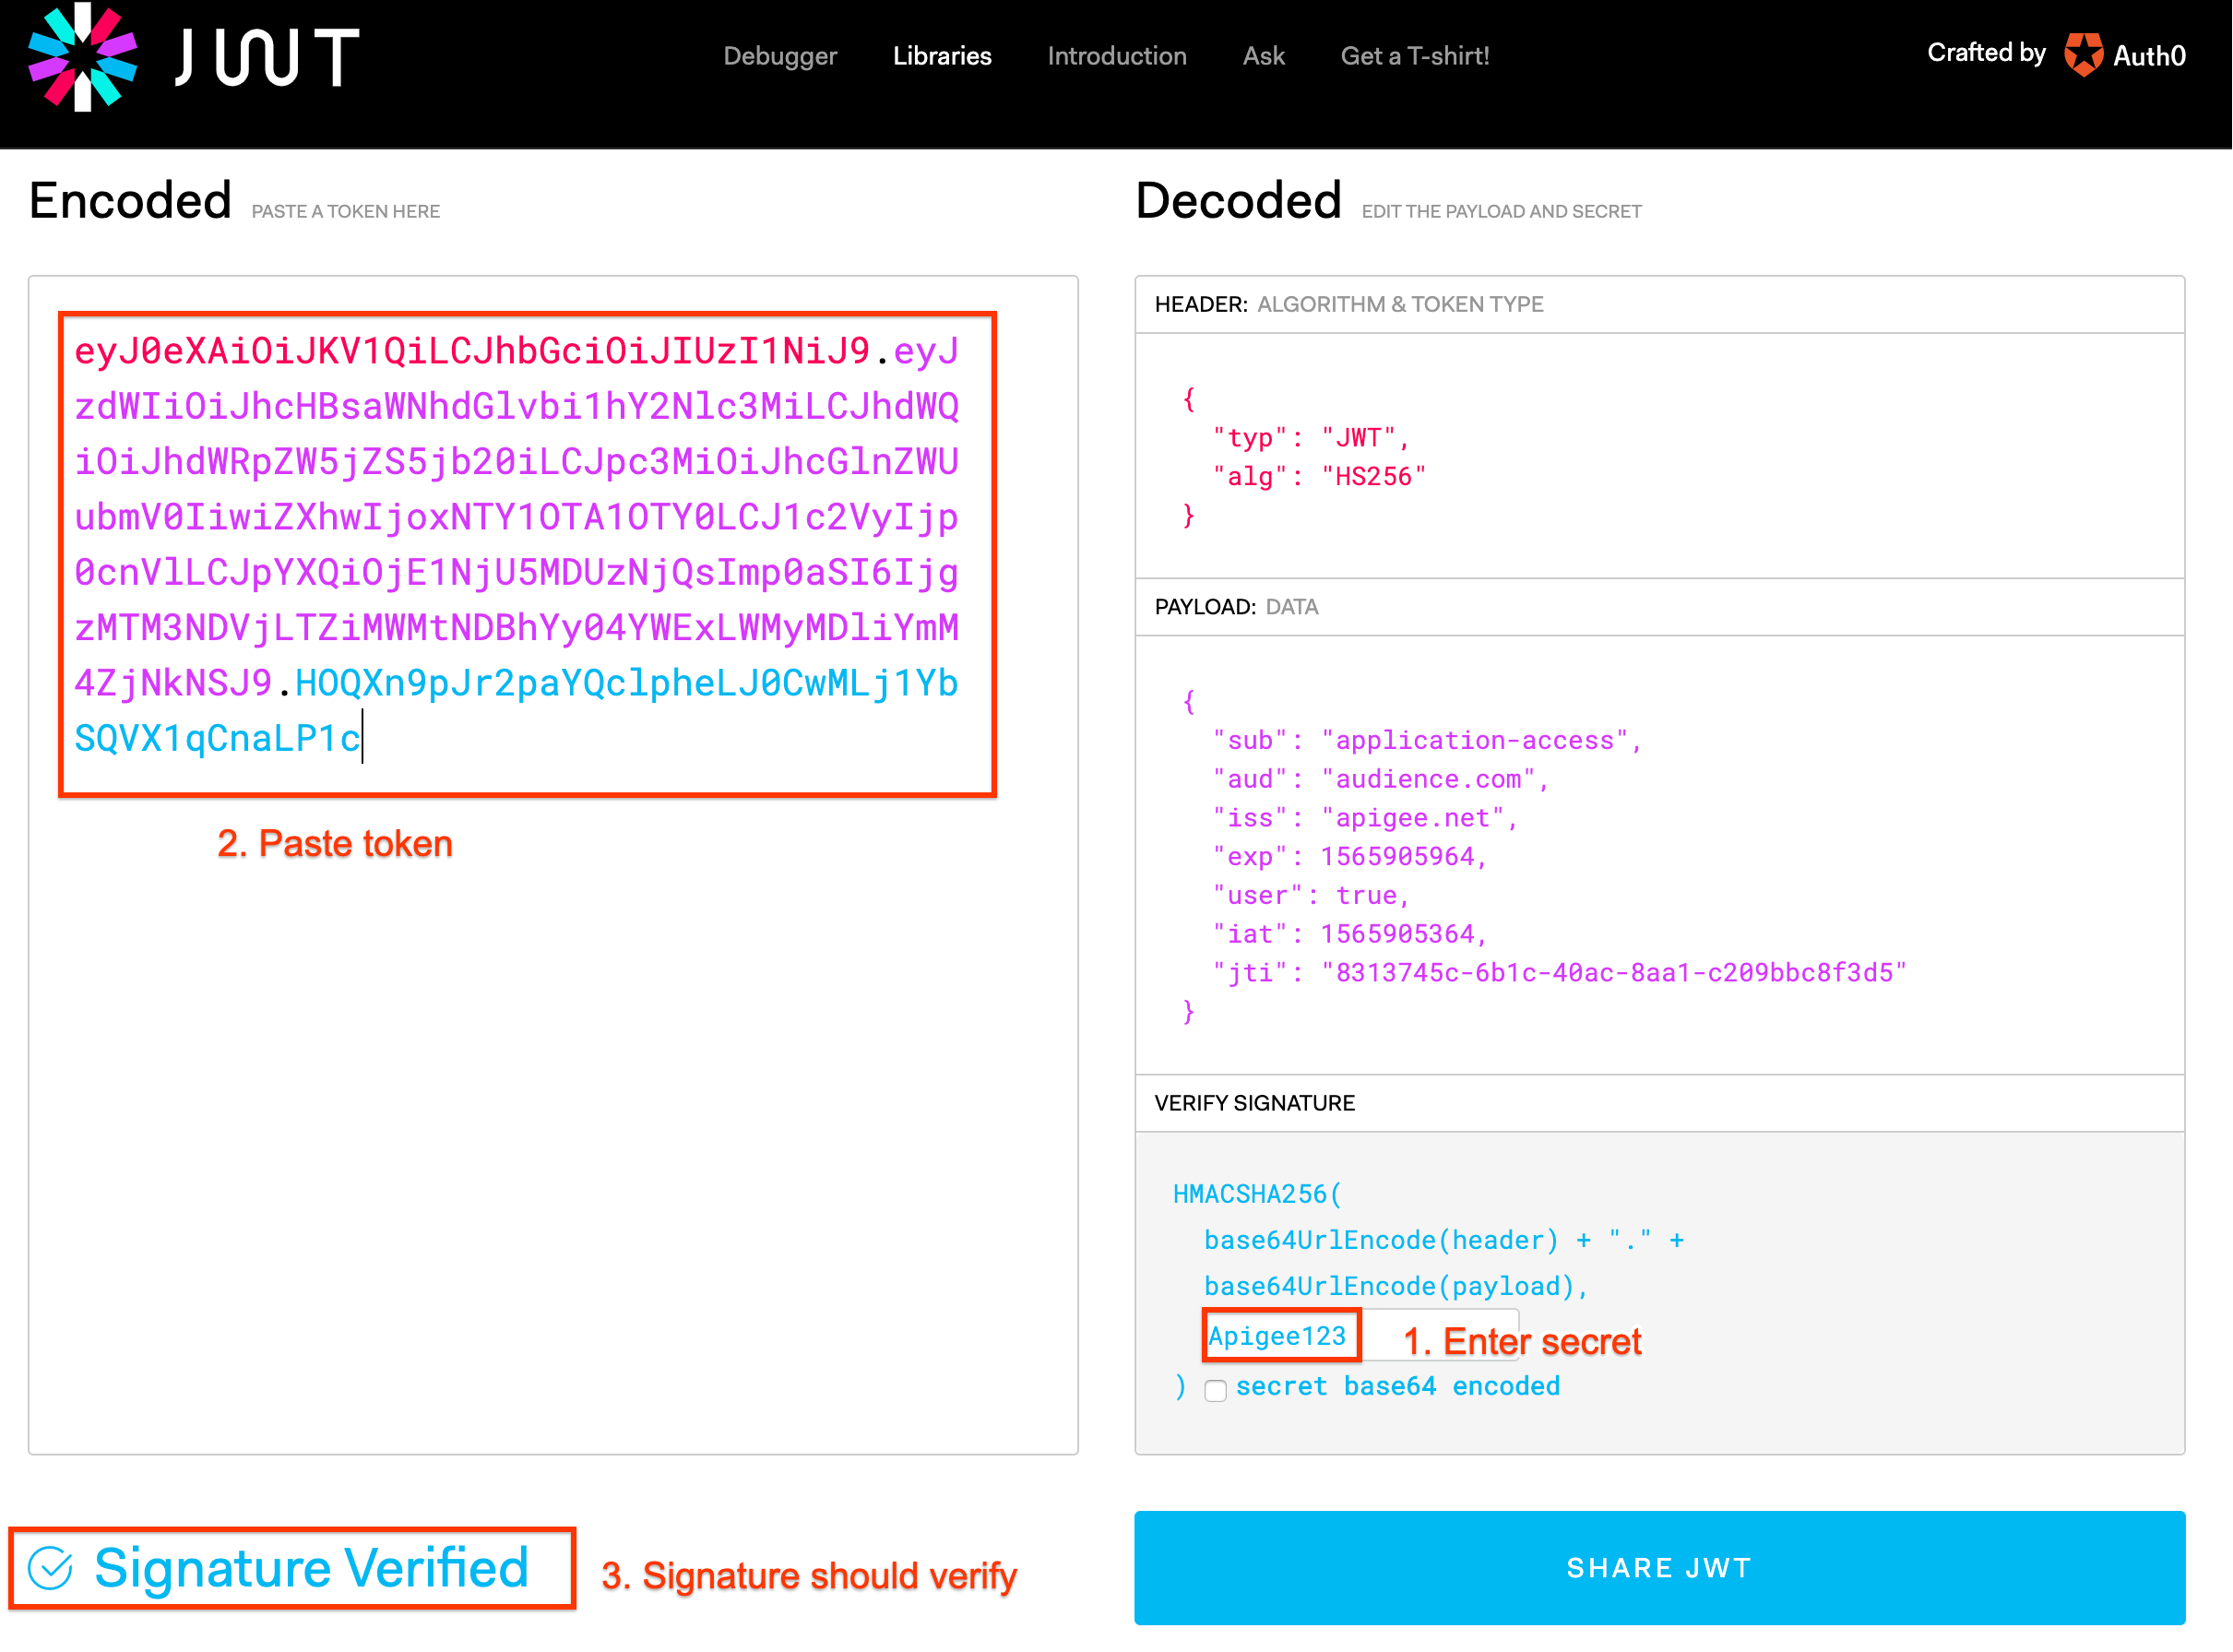
- Go to http://jwt.io. Type the shared secret you configured earlier (e.g. Apigee123 unless you changed it) in the Verify Signature box. Then paste the token in the Encoded field (ensure the algorithm is HS256):
- Now verify the token using the
/verifyproxy endpoint in Apigee. Use the same REST tool orcurlto do so. The HTTP request is:
POST /v1/jwt/verify HTTP/1.1
Host: -.apigee.net
Content-Length: 0
token:
-
Replace with your actual Apigee org name, and with the deployment environment for your proxy (eg. test)
-
Replace with the value of the JWT
Here is an example curl command (you will need to replace values as described above):
curl -X POST -I -H "Content-Length: 0" -H "token: " https://-.apigee.net/v1/jwt/verify
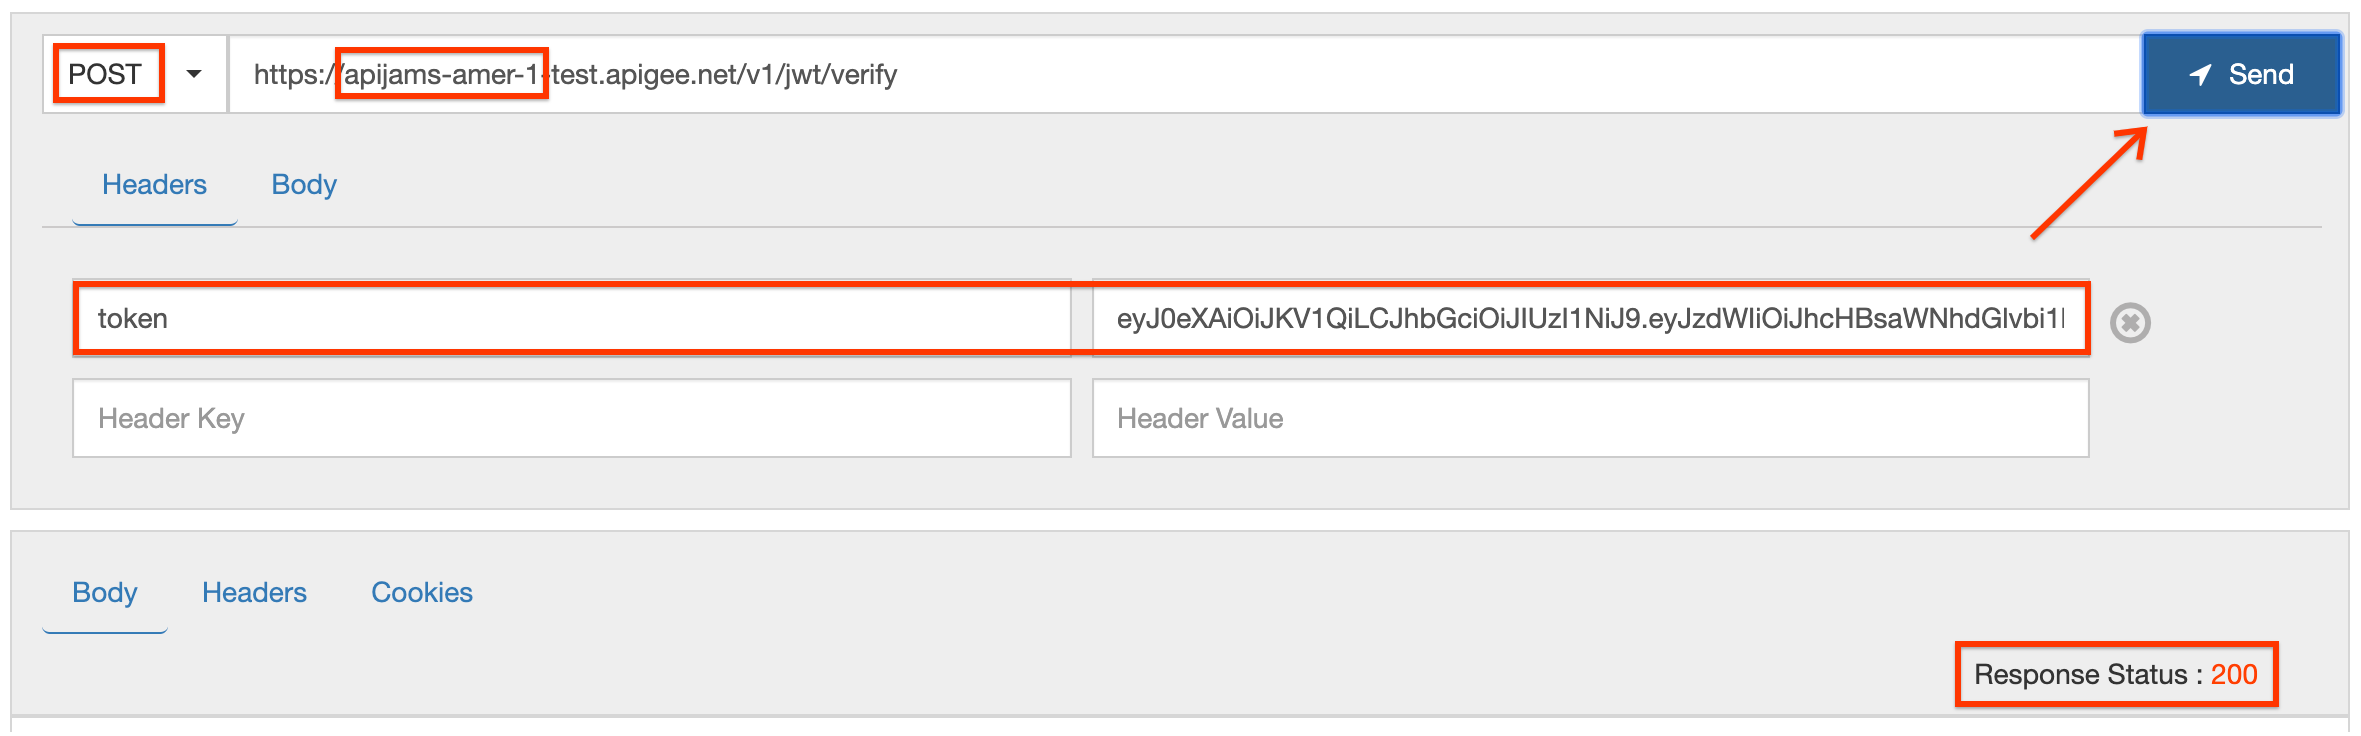
- If you get a 200 response code, the JWT is valid (as expected). Again, review the Trace tool to understand what happened.
Earn Extra Points
Change the JWT token generation policy to include additional claims (iss, aud, sub, extra claims) in it, to see how the behavior changes.
You can also try to tamper with the resultig JWT (add/remove characters) and invoke the same /verify API call again. What happens?
Summary
In this lab, you learned how to use Apigee’s out of the box JWT policies to both generate and verify a JWT. Now you can use these policies to actually secure an API using JWT security. To do so, you would first want to authenticate a user against their IdP (which also contains “claims” about that user/principal) before calling GenerateJWT and issuing the JWT with claims back to that user (for simplicity, we skipped the user authentication step in this lab and hard coded the claims). The API that is protected would invoke VerifyJWT (either directly or via an Apigee endpoint) to verify the JWT and read/verify its claims.
References
You may now proceed to Lab 5.